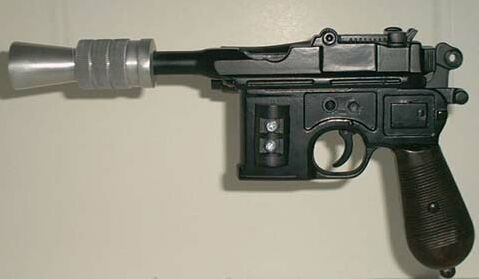
Solo Blaster from ESB
|
Denix Broomhandle Mauser |
Online sources are about $60 |
|
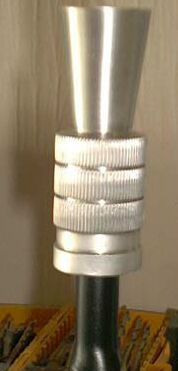
Flash Hider |
Aluminum, made by a machinist. About $30 |
|
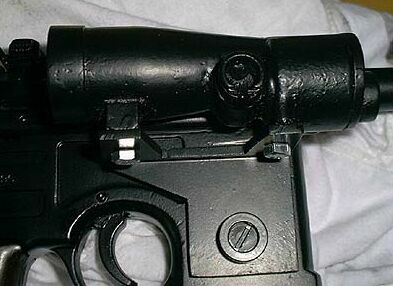
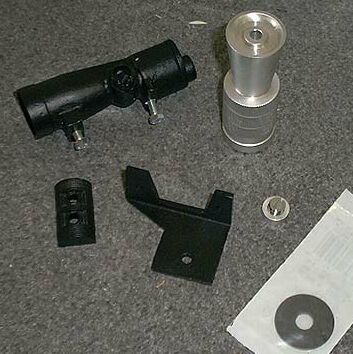
Scope and scope bracket |
Various prices depending upon materials used |
|
Scope bracket washer |
Various prices depending upon materials used |
|
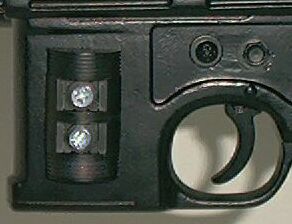
Double piston halves |
About $5. Click HERE for more info |
|
Visible V8 engine part. |
?? |
|
Neoprene rubber washer |
Home Depot. About $0.75 |
|
|
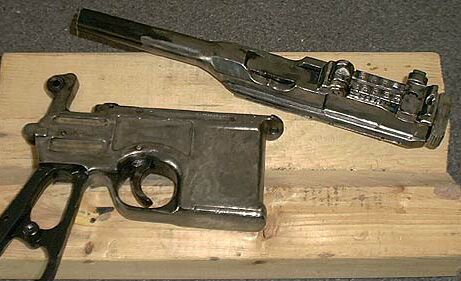
Disassembled the denix and cleaned it. I used a wire brush on my dremel to clean the entire gun. Removed the Denix logo with the sanding wheel as well. When finished, reassamble the mauser. |
|
Removed the tip of the barrel so that the distance from the front of the magazine well to the tip of the cut barrel was about 3.5". This may vary depending upon the flash hider you have. Use reference pics for a better guide. |
|
|
|
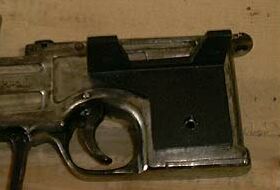
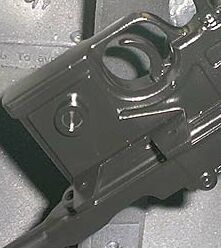
Placed the scope bracket on the mauser and marked where to drill the mount hole with the centerpunch. Drilled the hole and tapped it to fit the bracket screw I was using. |
|
|
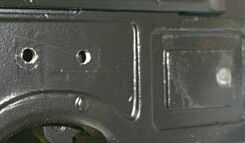
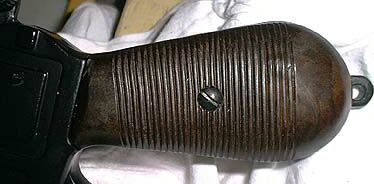
Drilled two holes for the misc detail pieces on the left side of the gun. Also sanded the small bump on the rear of the gun. The square area right above the grips has that bump. This is where the V8 part will go. I made the mistake of painting the gun before I did this. So, learn from my mistakes. :) |
|
|
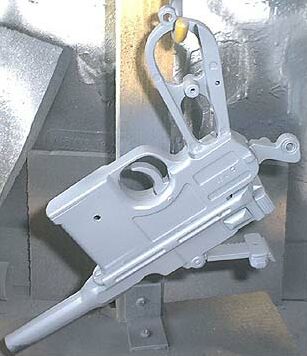
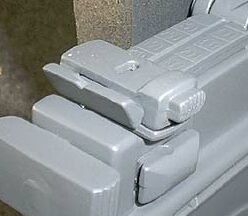
Painted the whole gun with 2 to 3 coats of primer. |
|
|
Secure the site to the main body with JB Weld |
|
|
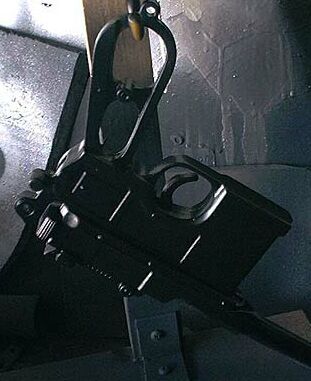
Painted the gun with 2 to 3 coats of Krylon semi-flat black paint |
|
|
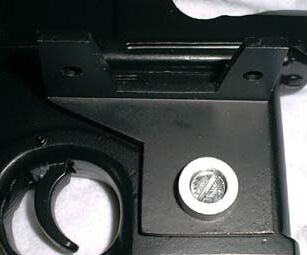
Cut the neoprene washer to fit under the scope bracket and screw the bracket into place. |
|
|
Since I didn't paint the washer beforehand, I had to put a quick coat of black paint on the scope bracket. |
|
|
Put the gun in a vice or a clamp so that the barrel is pointing straight up. I mixed up a good amount of JB Weld and using a thin wood coffee stirrer, placed it into the center of the flash hider. Once it was in there, I slid the hider onto the barrel. Let sit to harden. |
|
|
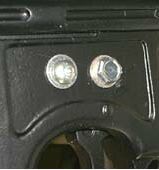
Add the two small details to the left side. There are two misc pieces above the trigger area that are a mystery. One reference pic I have makes it look like a pan-head screw and a square head screw. I ended up using a hex head screw, a phillips pan-head screw and two small washers. Use whatever looks good to you. |
|
|
Position the pistons an drill a small hole where a screw will go. Then screw the pistons down onto the denix. I used philips head screws. |
|
put a quick coat of black paint on the two misc details. I covered the flash hider to avoid getting paint on it. |
|
|
|
Screw the scope onto the scope bracket |
|
Affix the V8 motor/coil part. This step is in the works. Stay tuned. |
|
|
Touch up with black paint and weather as desired. |
|
|
|
Screw the grips back on. |